Google Drive Integration for VTiger makes it very easy to access documents stored on Google Drive without leaving from the VTiger CRM. It fully integrates the two applications, by assigning Google Drive folders to VTiger records. Folders/Files are then accessible directly from VTiger, where you can view them in a “list” or “Gallery” view. In addition, when you click on the document/folder/file – it will open Google file viewer/editor which allows to edit files without downloading to your computer. (Files supported include Word, Excel, Text & much more).
Integration supports all modules, meaning that you can assign folders to any record e.g project, opportunity, order and access the folder while in VTiger.
Here’s a video on how to configure the Google Drive Integration for VTiger 7. If you’d rather benefit by written instructions, read on the Extension guide.
Links to be Used during Configuration
URL: https://console.developers.google.com/apis/credentials/
Authorized JavaScript origins:
– your_vtiger_url
— https://demo7.vtexperts.com
Authorized redirect URIs:
– your_vtiger_url + google drive api link
— https://demo7.vtexperts.com/modules/VTEGoogleDrive/oauth2callback.php
Configuration
The Google Drive Integration for VTiger 7 can be configured in Main Menu >> Settings >> CRM Settings >> Extensions List >> Google Drive Integration. After the install and first visit, you’ll be asked to download and install the “Google Api PHP Client”. Simply hit the “Download” button and it will automatically download and place the file at the required path.
You will then be taken to the “Configuration Panel” of the Google drive integration.
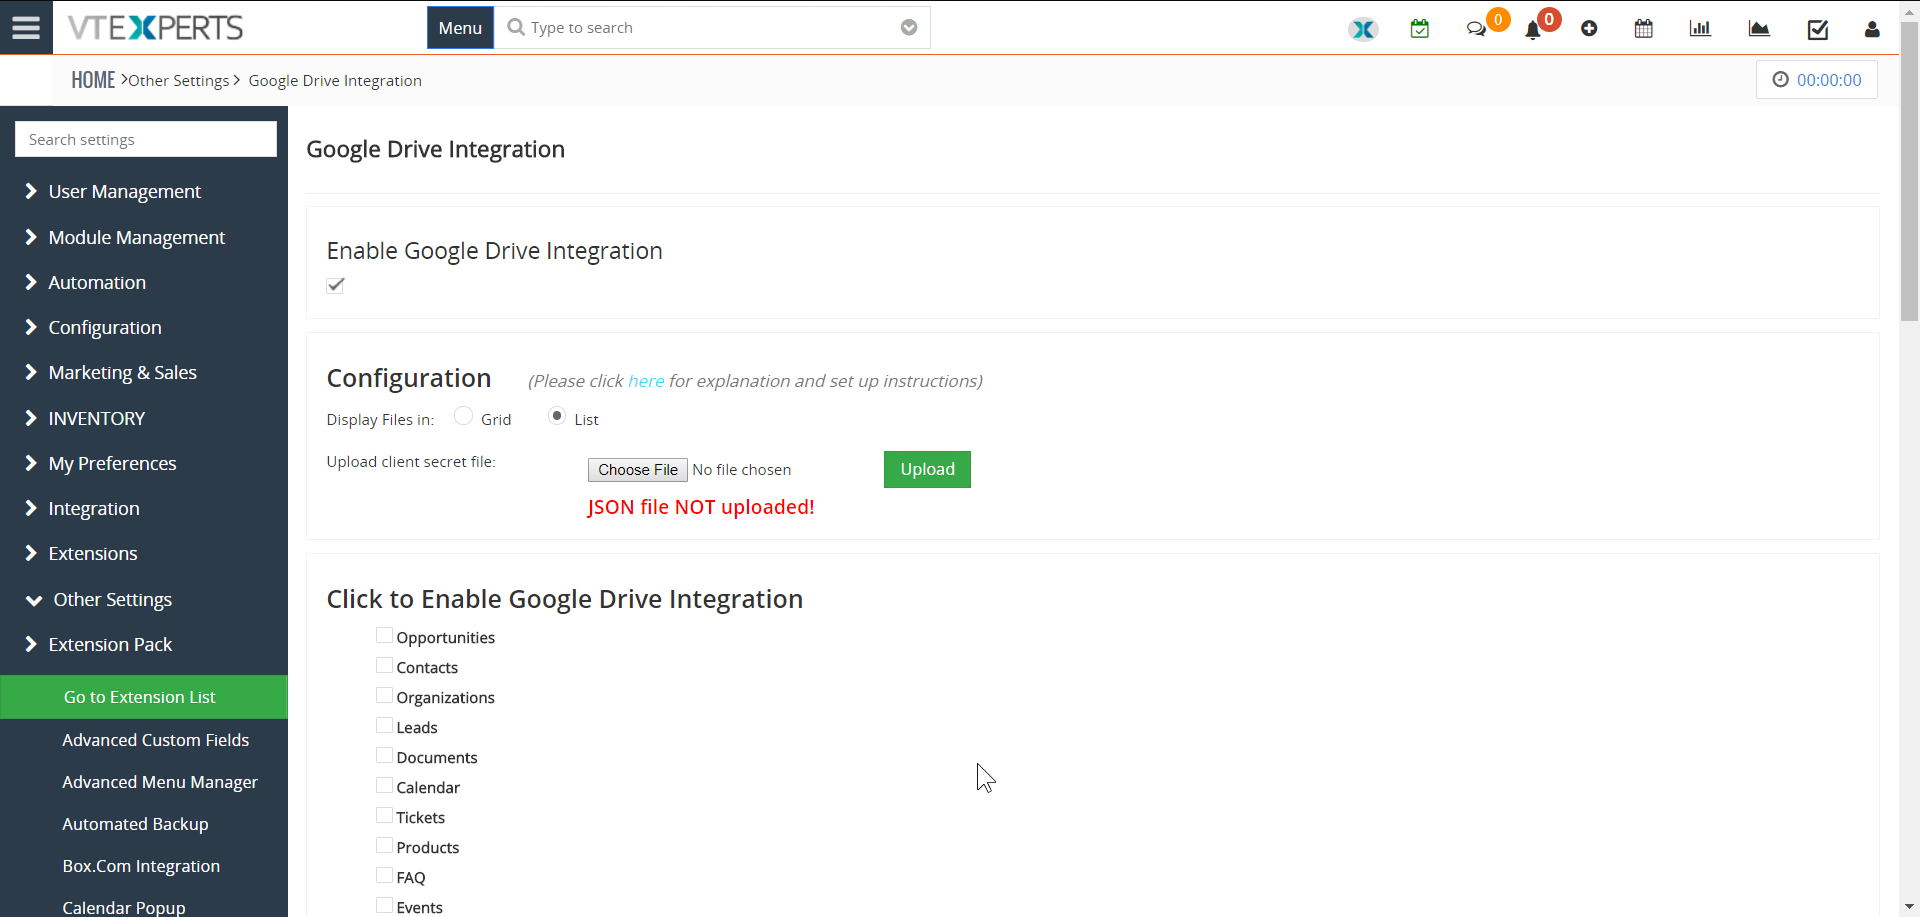
Enable Google Drive Integration: This is the switch you can toggle to enable or disable the integration even if its configured and integrated completely
Display Files in Grid/List: Selecting List will show the selected files and/or folders in the list view. It helps to managing multiple type of files together. Grid view is a thumbnail view that is really helpful for images
Click to Enable Google Drive Integration: This is the list of all the modules available. You can select individual modules and enable the Google Drive Integration for them. So you can have it enable for Project Tasks but not for Opportunities.
Upload Client Secret File: Client Secret File is the one containing all of the info about credentials and API for the Google Drive account. So you do not have to enter any information manually but get all the information downloaded as a .json file and upload with special security codes and limitations to be used.
How to Get Client Secret File
It’s about 5 minutes’ procedure on how to create and download the Client Secret File. Here are the steps:
- Log into the Gmail account
- Open the link: https://console.cloud.google.com/apis/credentials
The following screen will appear
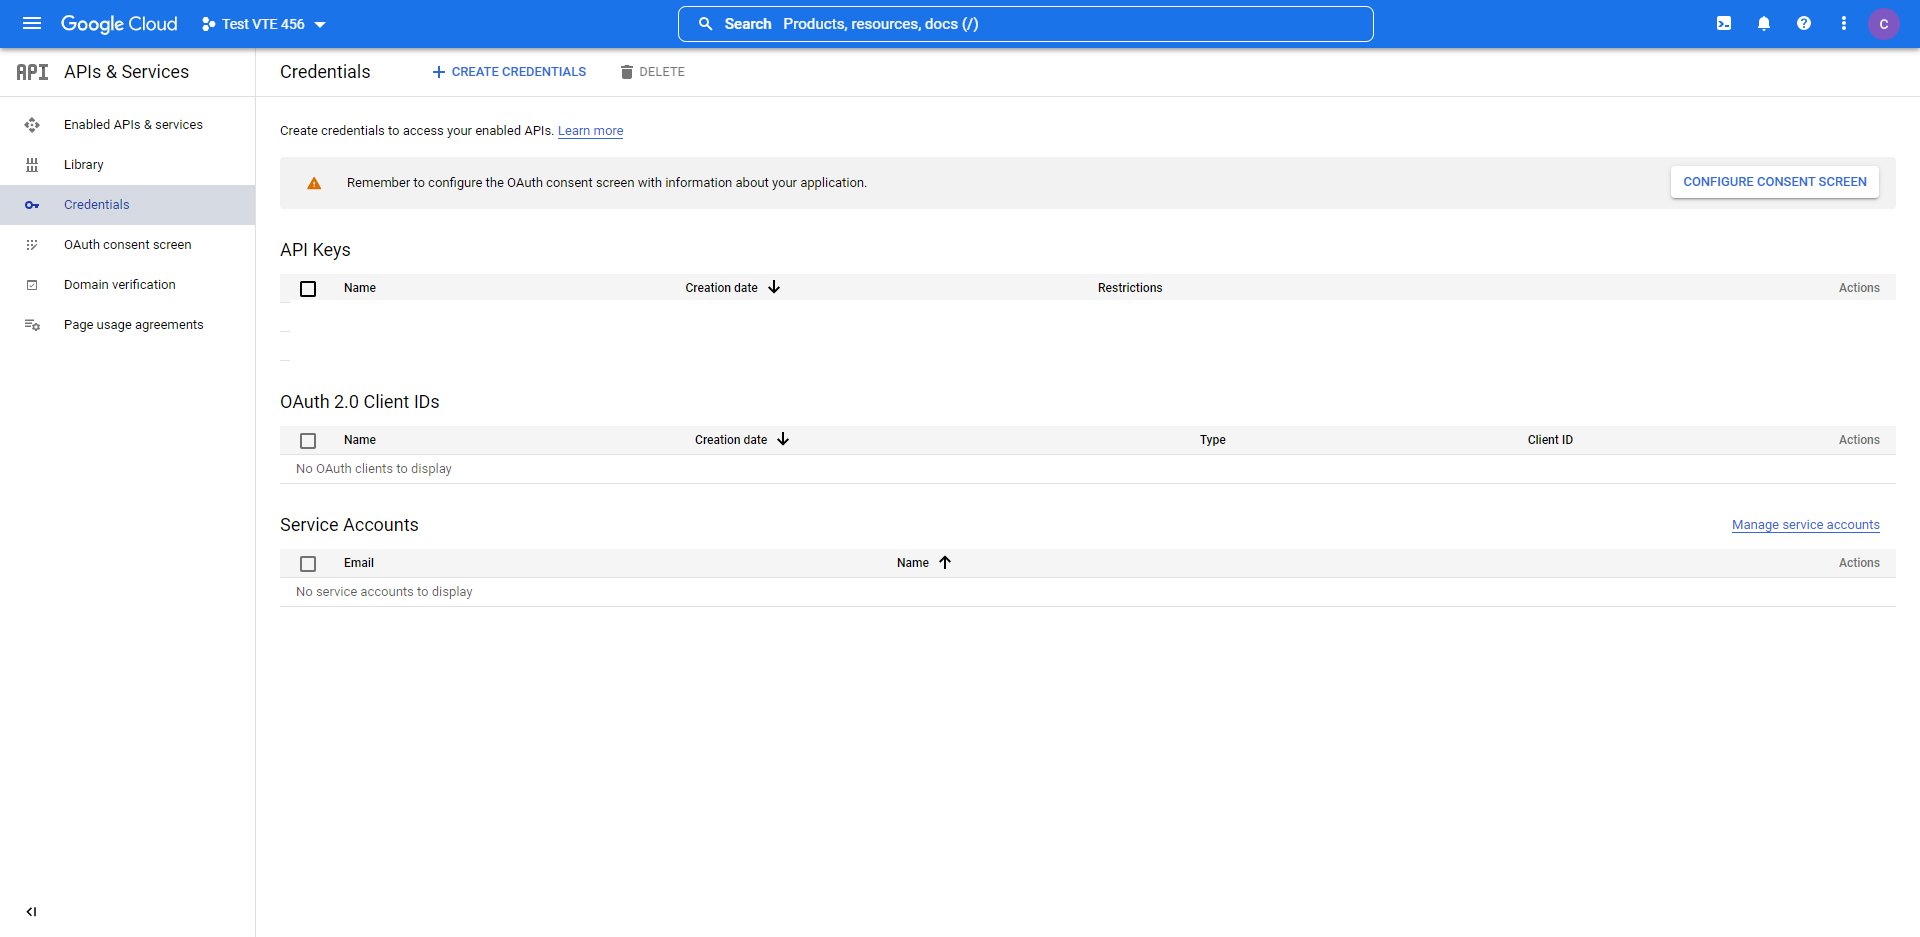
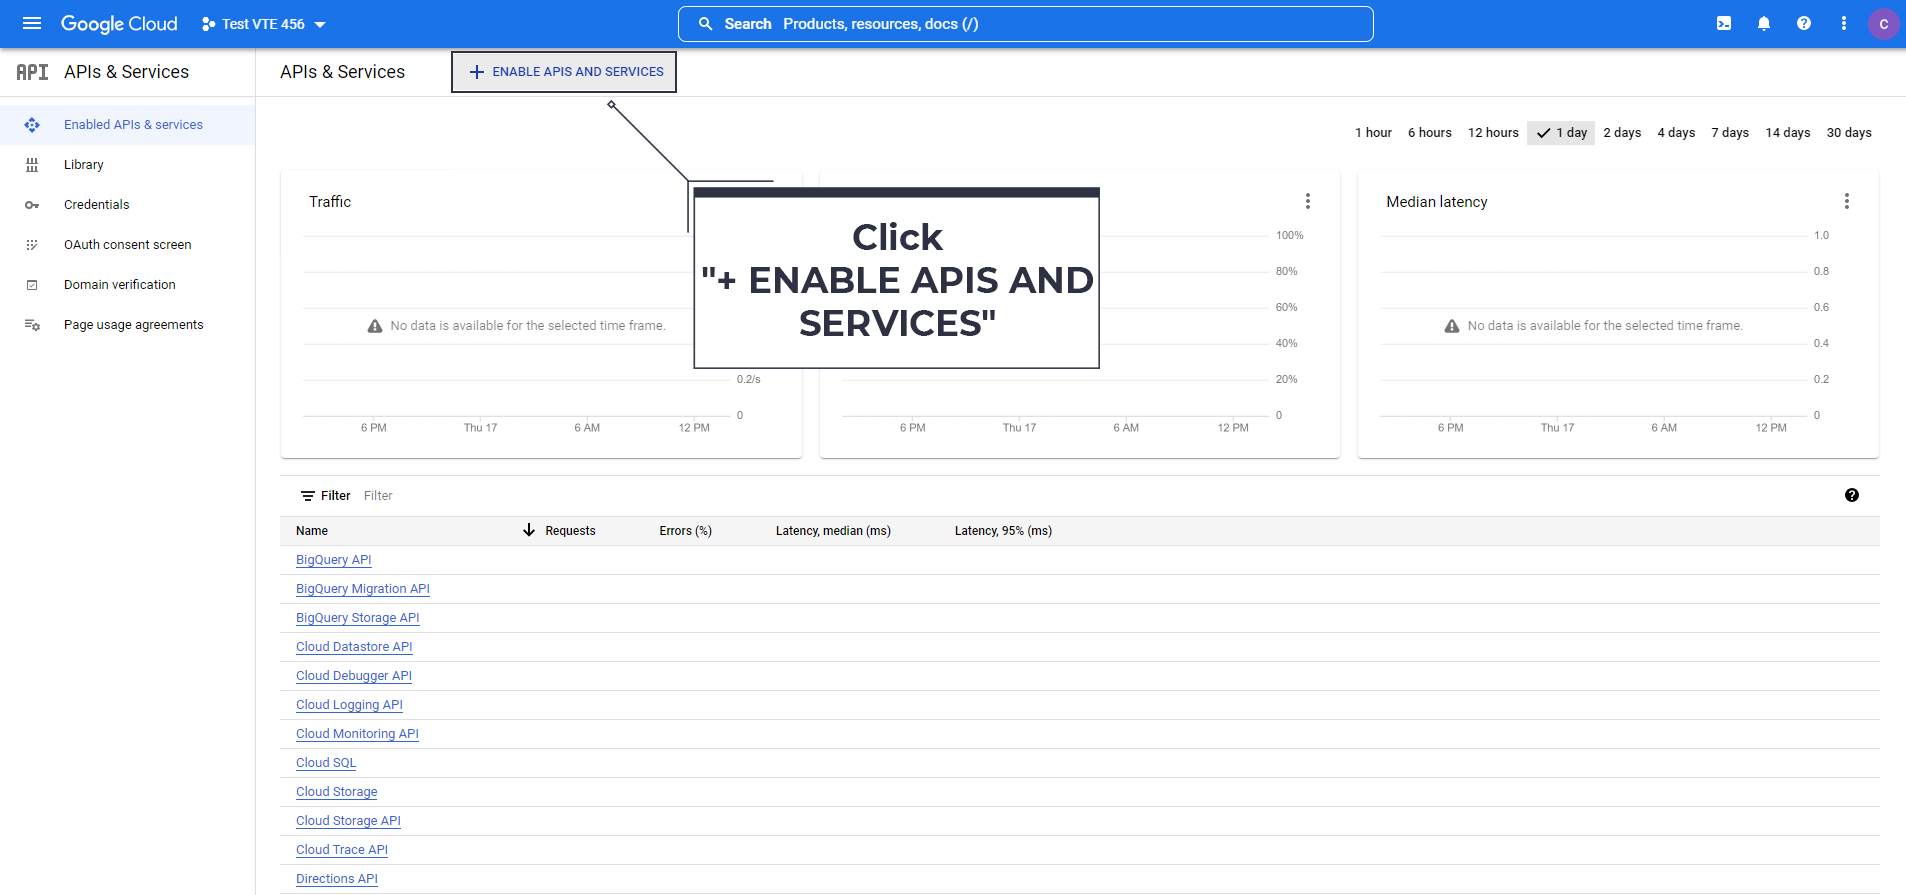
- Click on “Enabled APIs & Services”
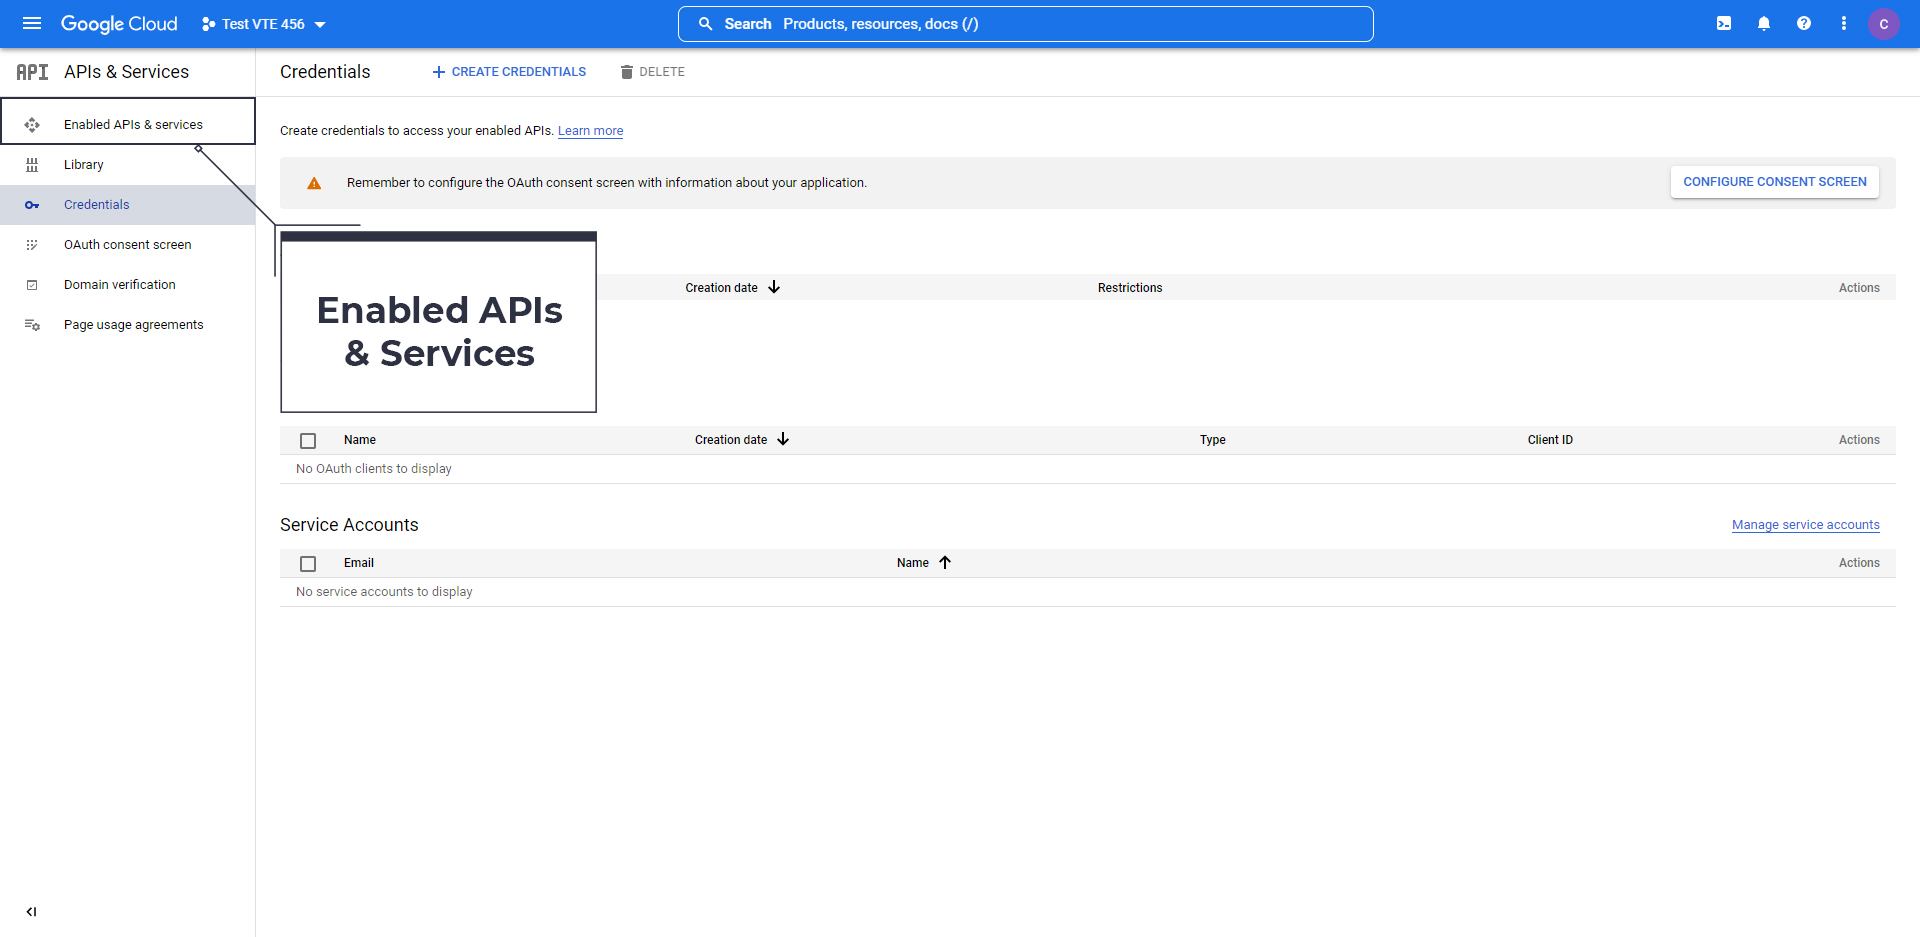
- Click on “+ ENABLE APIS AND SERVICES” button
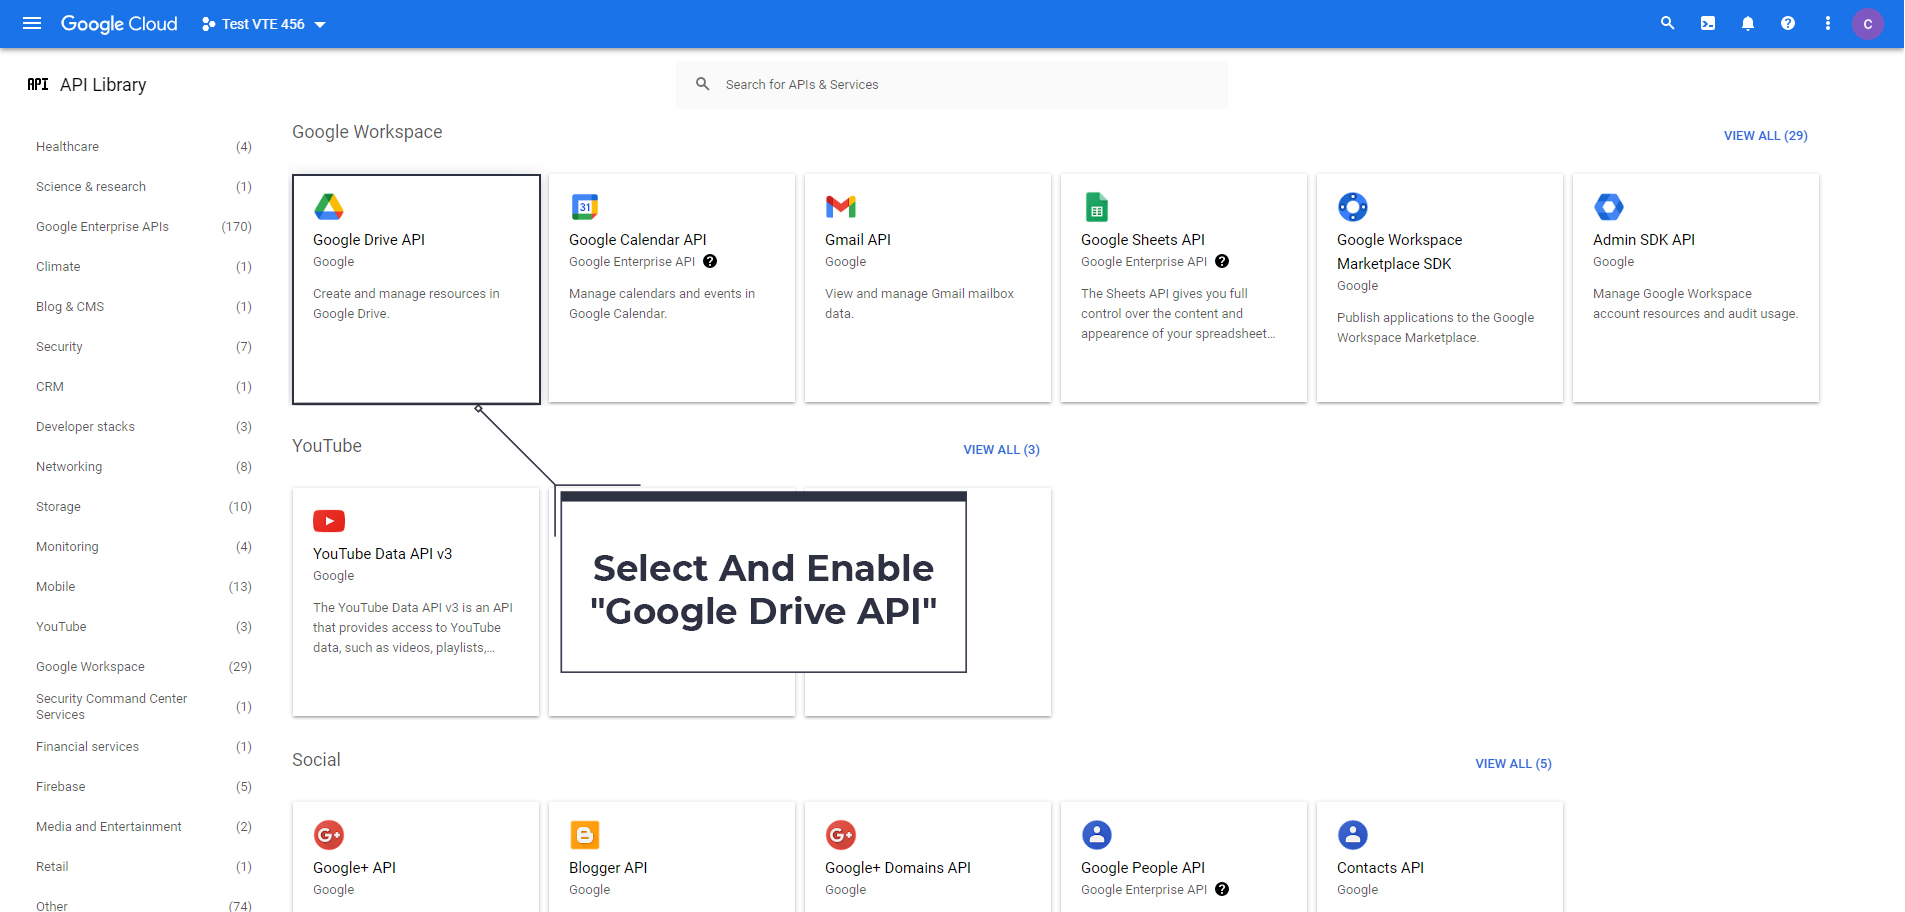
- Make sure to enable “Google Drive API”
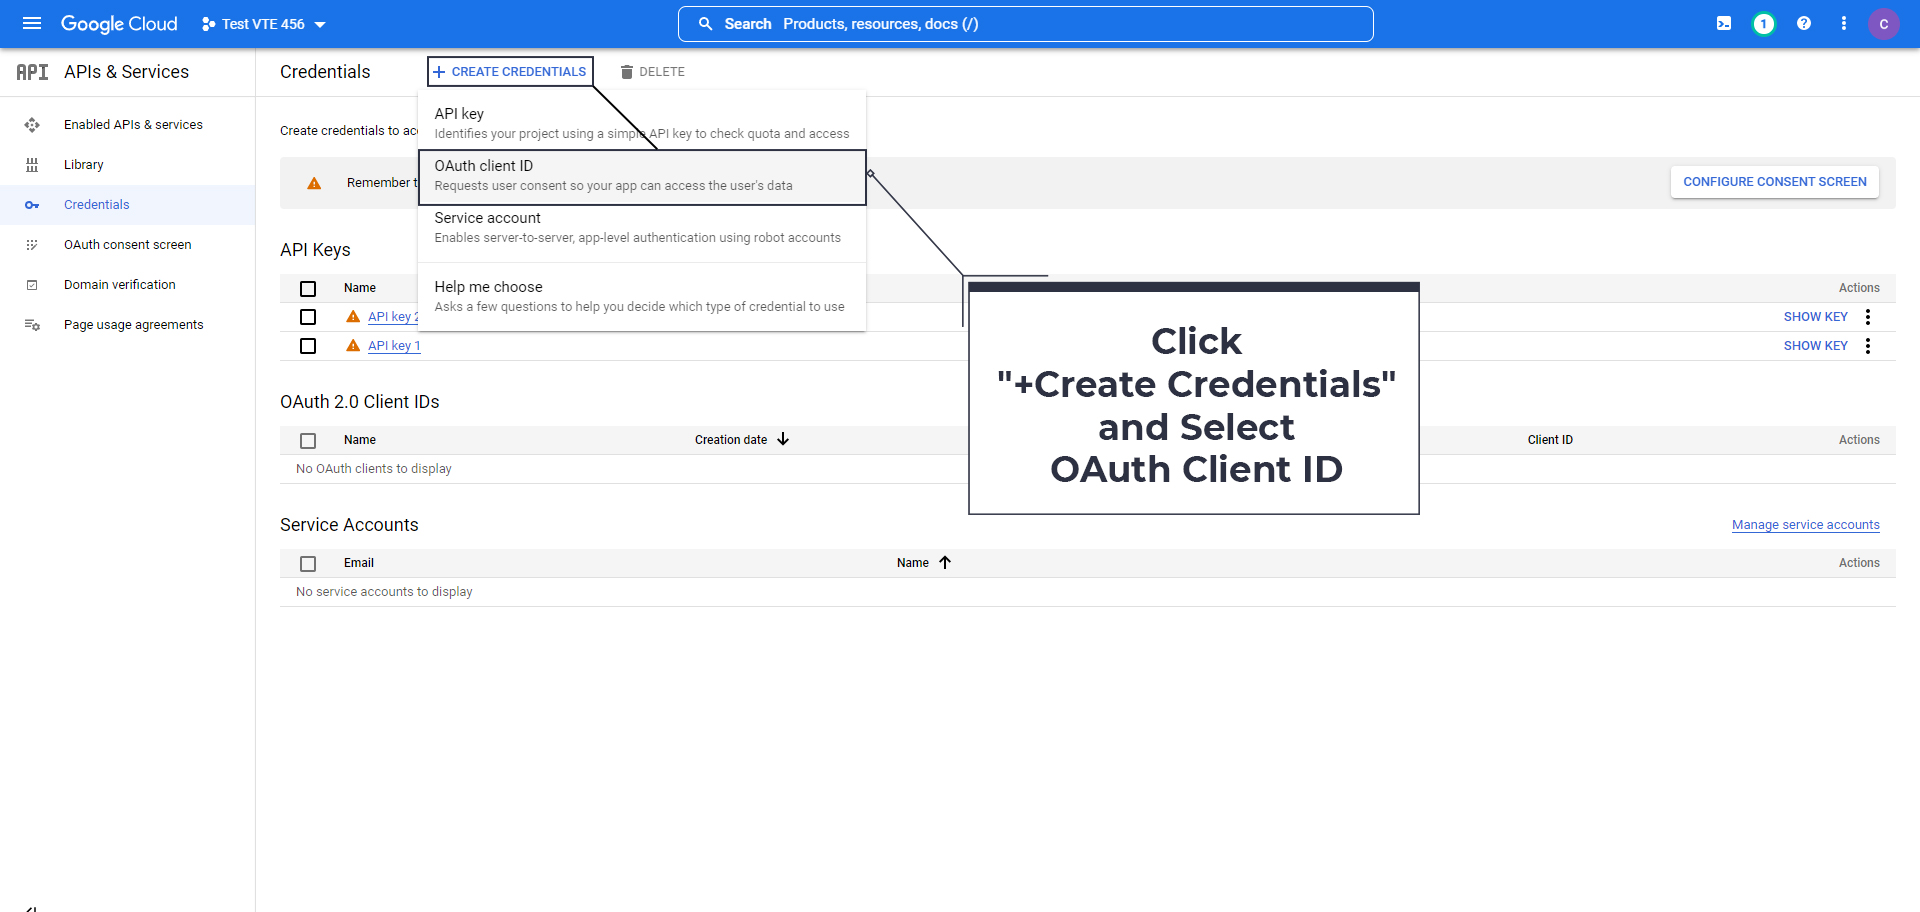
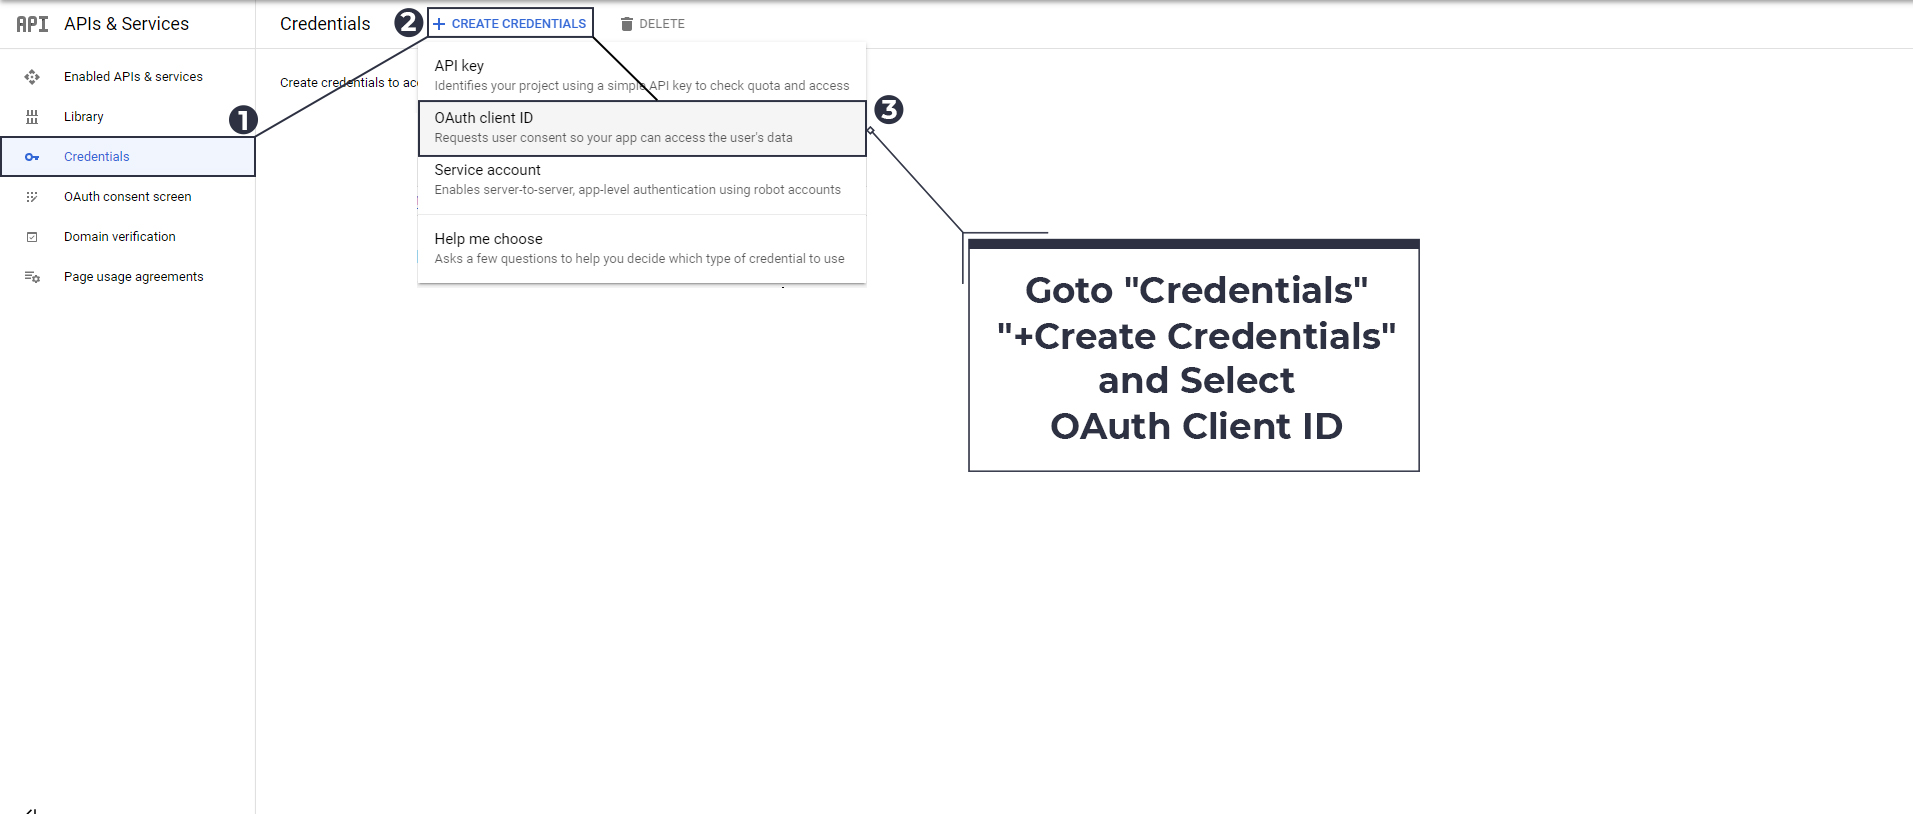
- Once done go back to the “CREDENTIALS” page. Then click “+Create credentials” and select “OAuth Client ID”
- Click on “Configure Consent Screen”

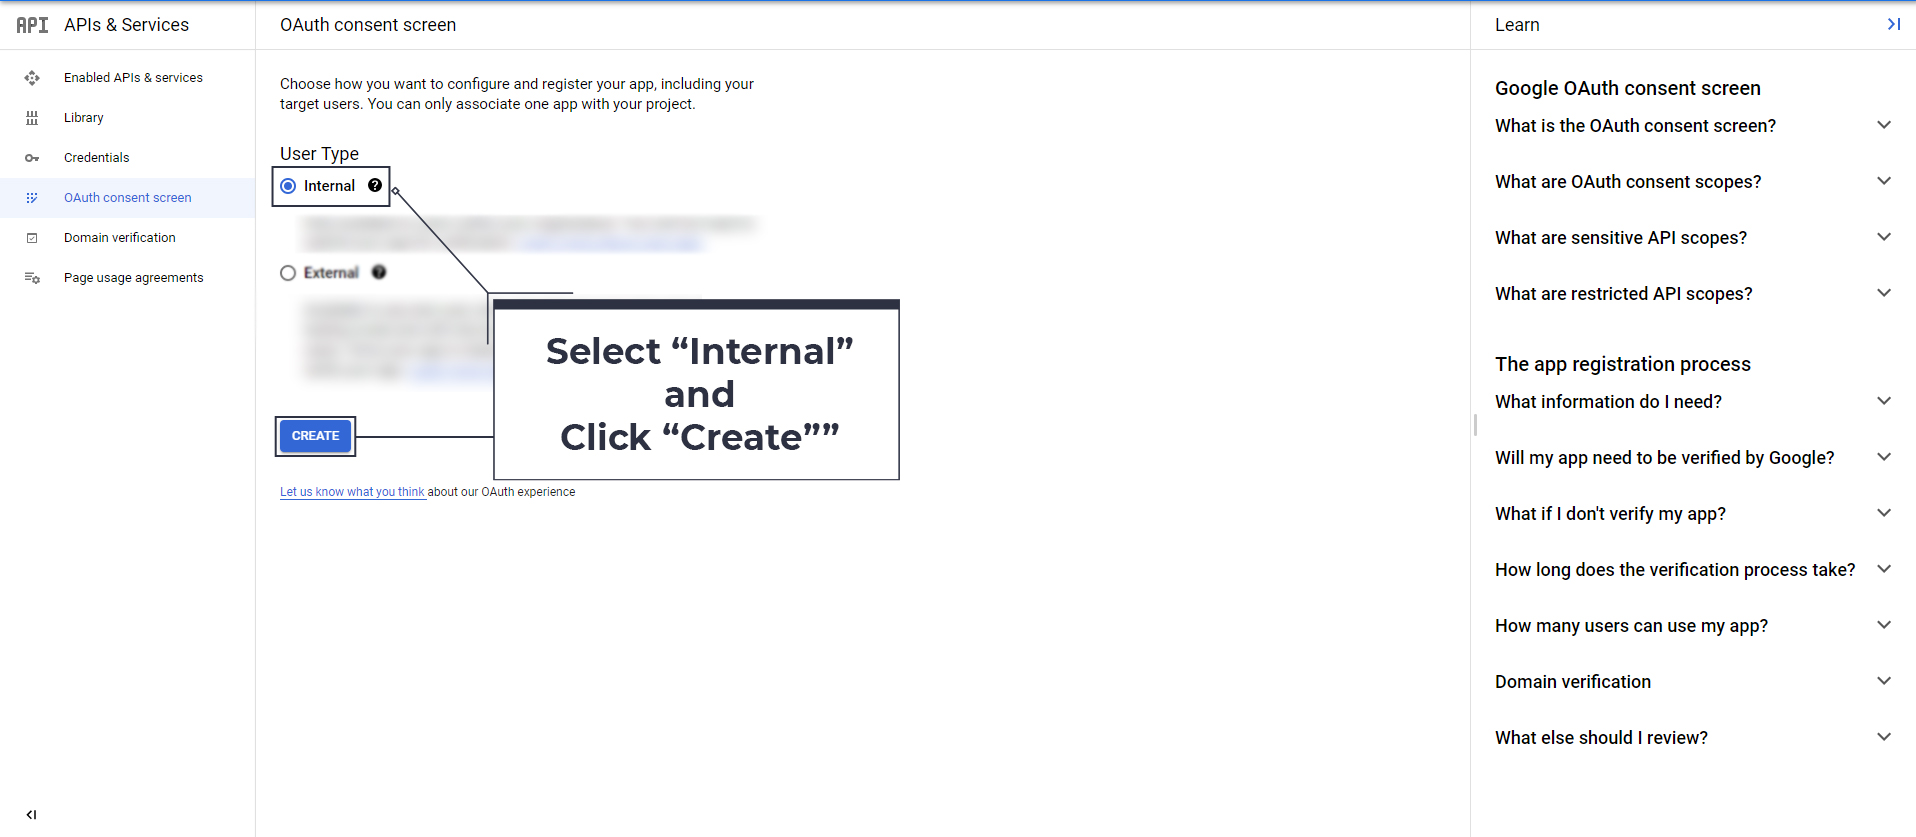
- Select “Internal” and click “Create””
- In the “Scopes” configuration press “Save and Continue”

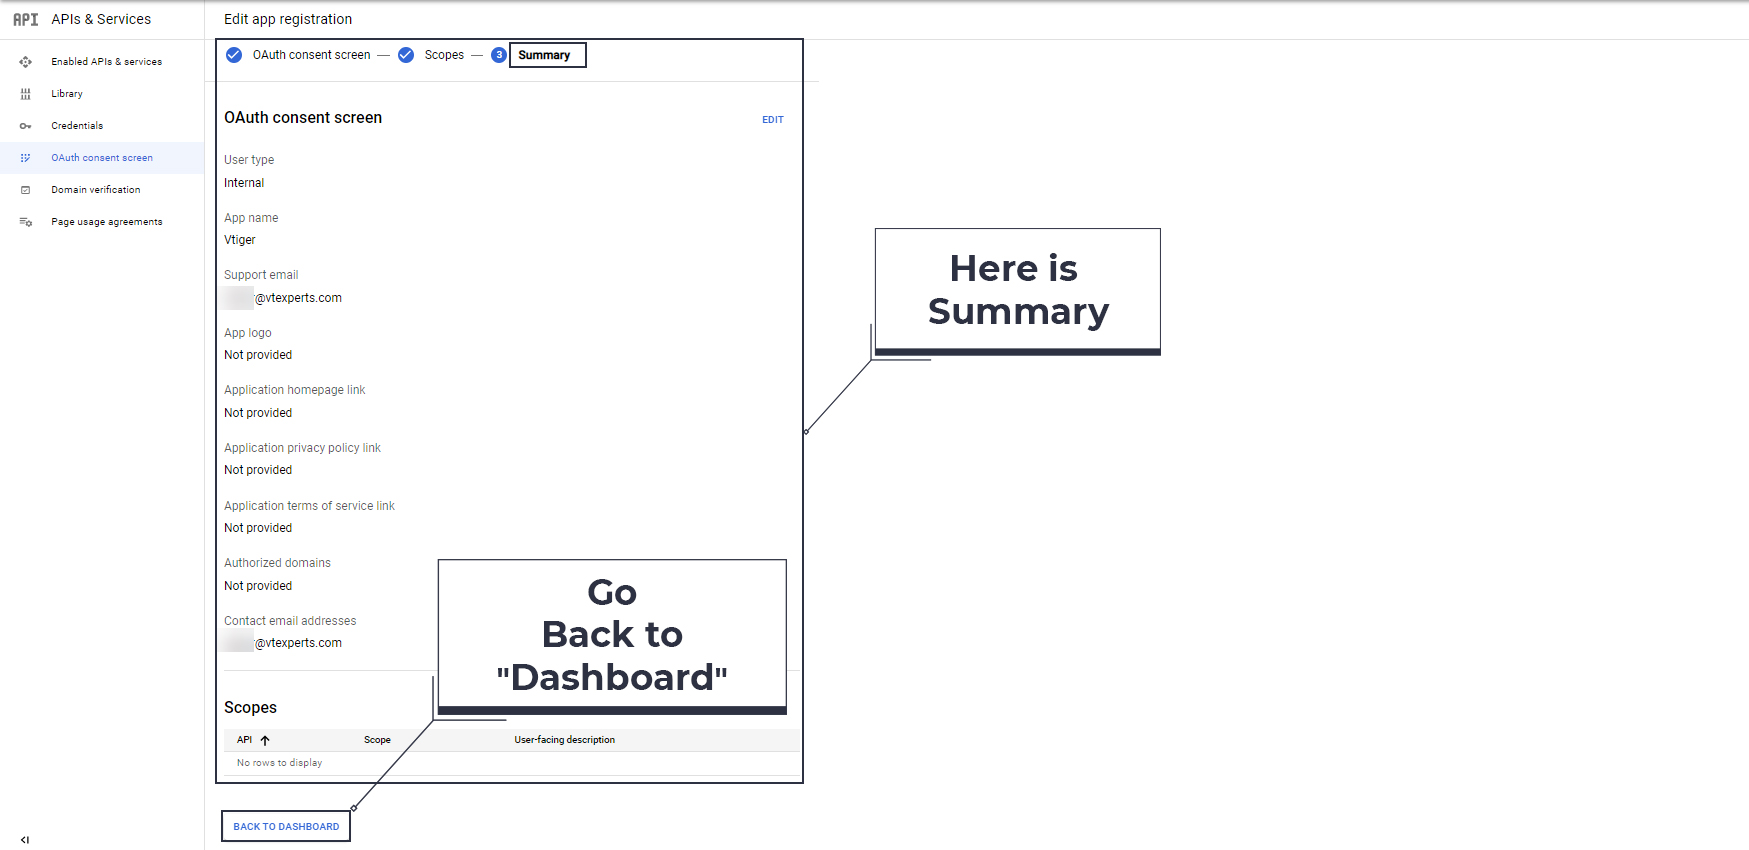
- Once done, it will show the configuration summary. Check the summary and go back to the dashboard
- Go to the credential page and click “+Create Credentials” and select “OAuth Client ID”
- On the next screen make the following selections
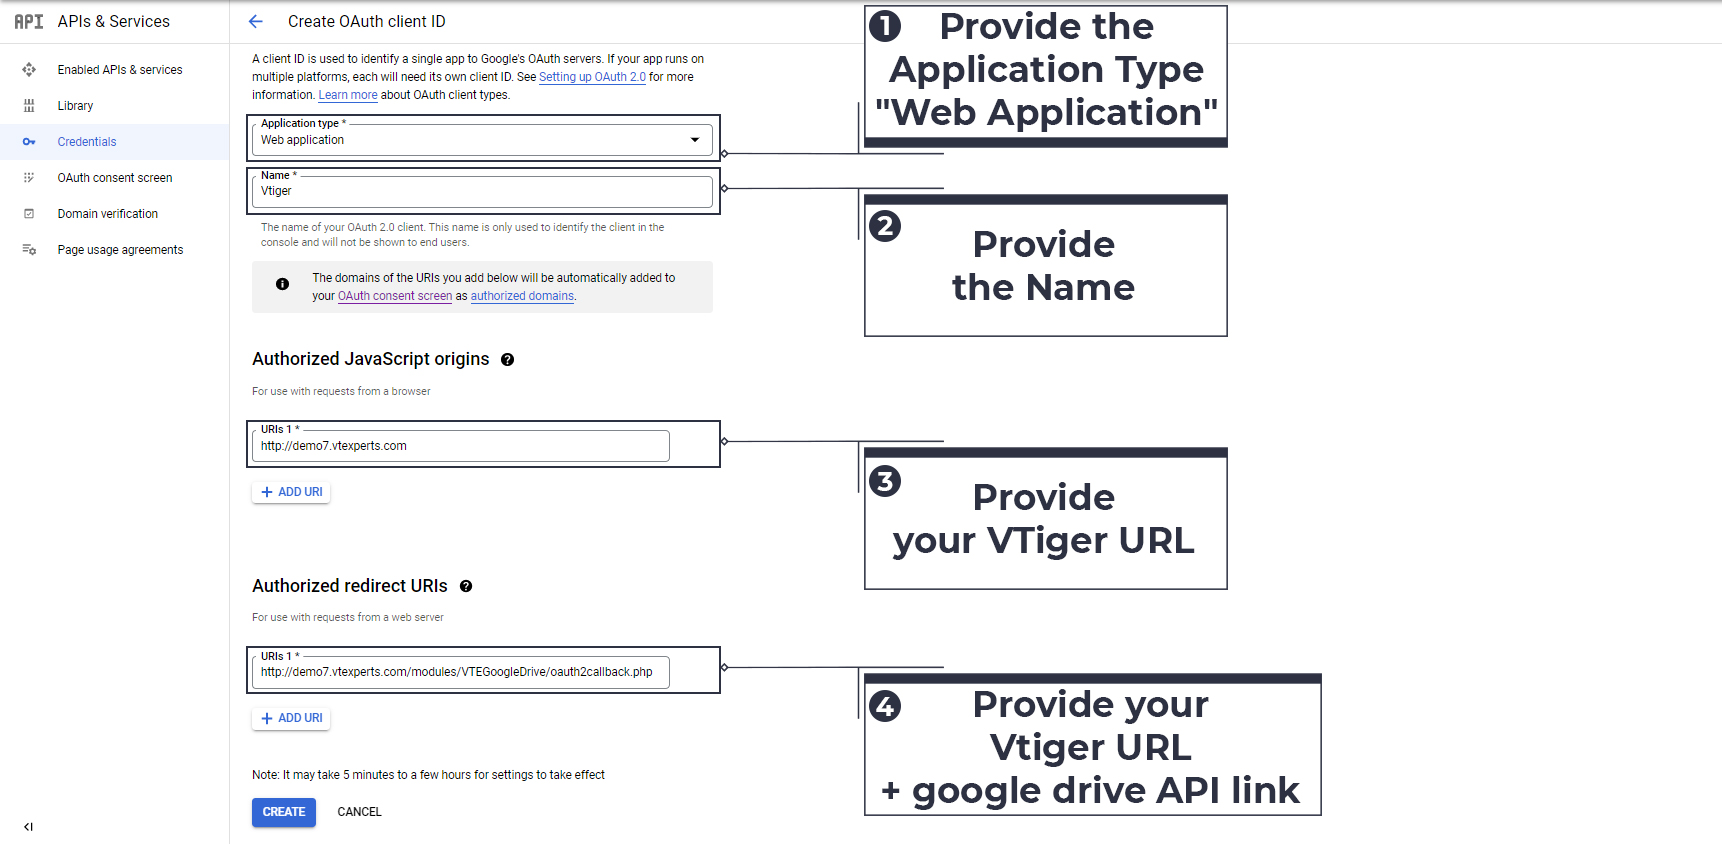
1- Application type: provide the application type, which in this case is “Web Application”
2- Name: Provide the name
3- Authorized Java Script Origin: Provide your Vtiger URL, which is in this example is — https://demo7.vtexperts.com
4- Authorized redirect URL’s: Provide your Vtiger URL + google drive API link, which in this example is — https://demo7.vtexperts.com/modules/VTEGoogleDrive/oauth2callback.php
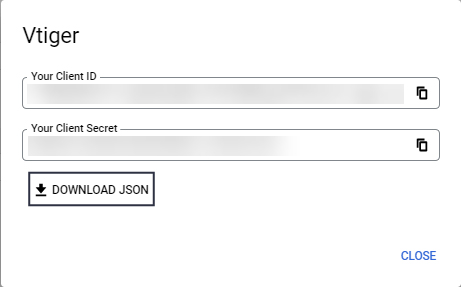
Once done press “Create” button - A OAuth ID and Client Secret will be created. Download the JSON and use it in the Vtiger to configure the Google Drive integration
Choosing or Creating Folders from Google Drive
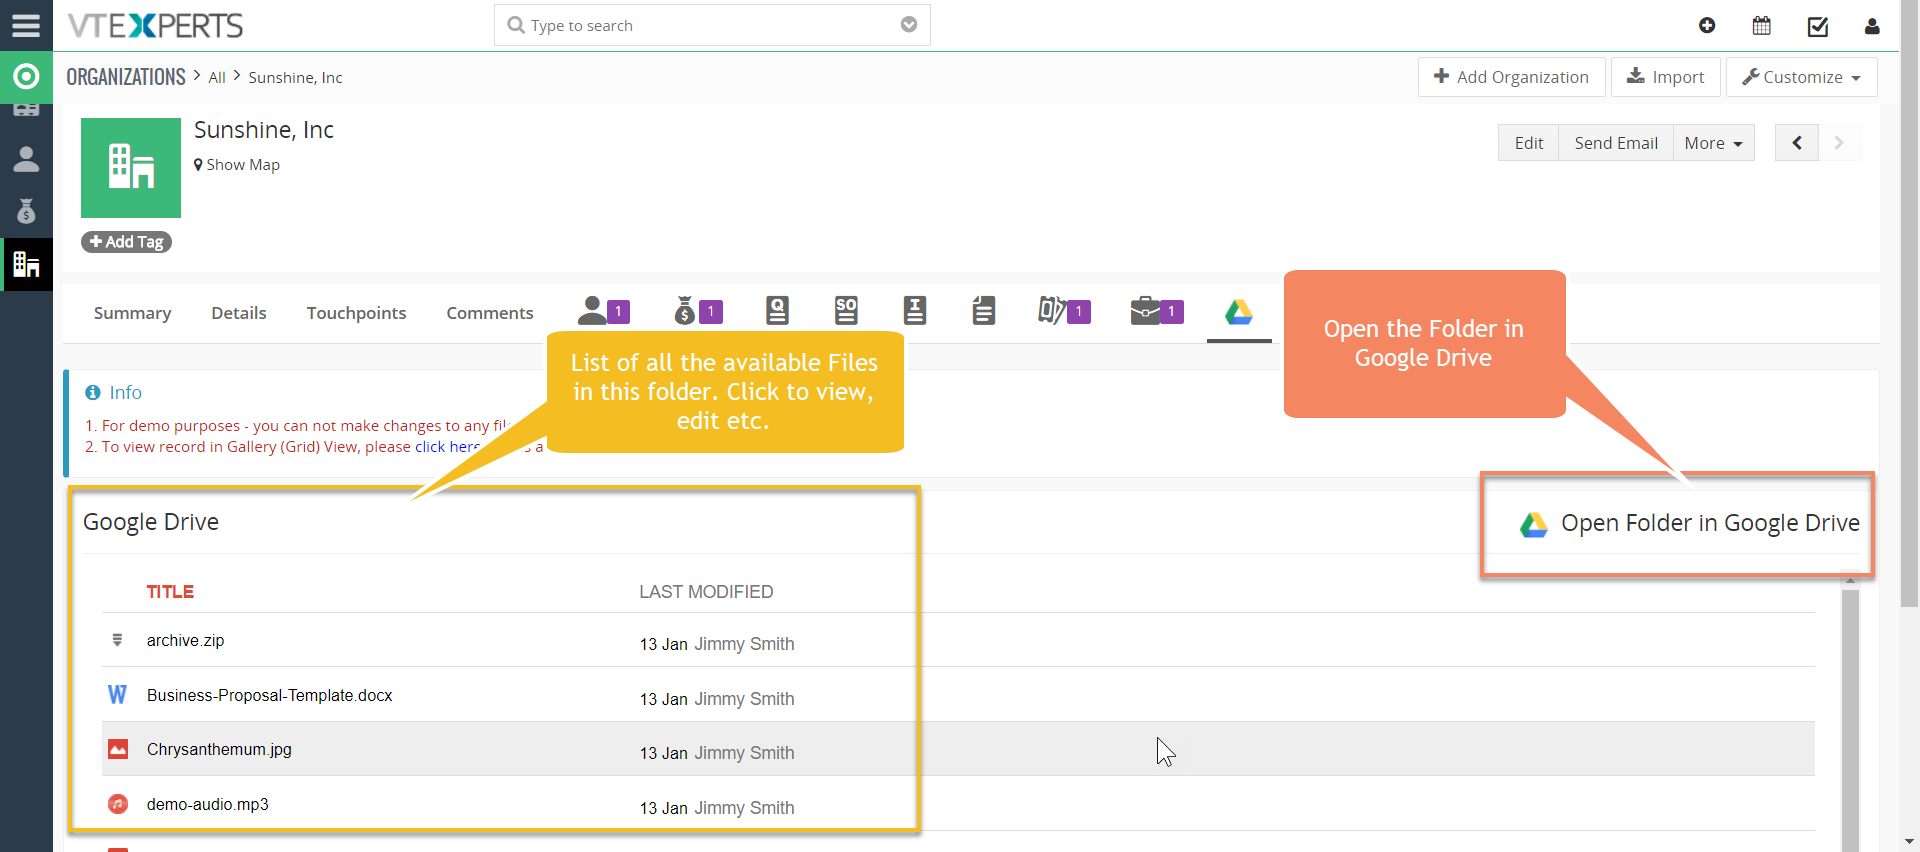
Once you’ve created the .json file, uploaded it to VTiger 7, and enabled the desired modules, it’s time to assign folders to records. For that, open a module for which you’ve enabled the Google Drive integration in settings (like in our example, we are using “Organizations” module). You will see the google drive icon in the related modules list in any record.
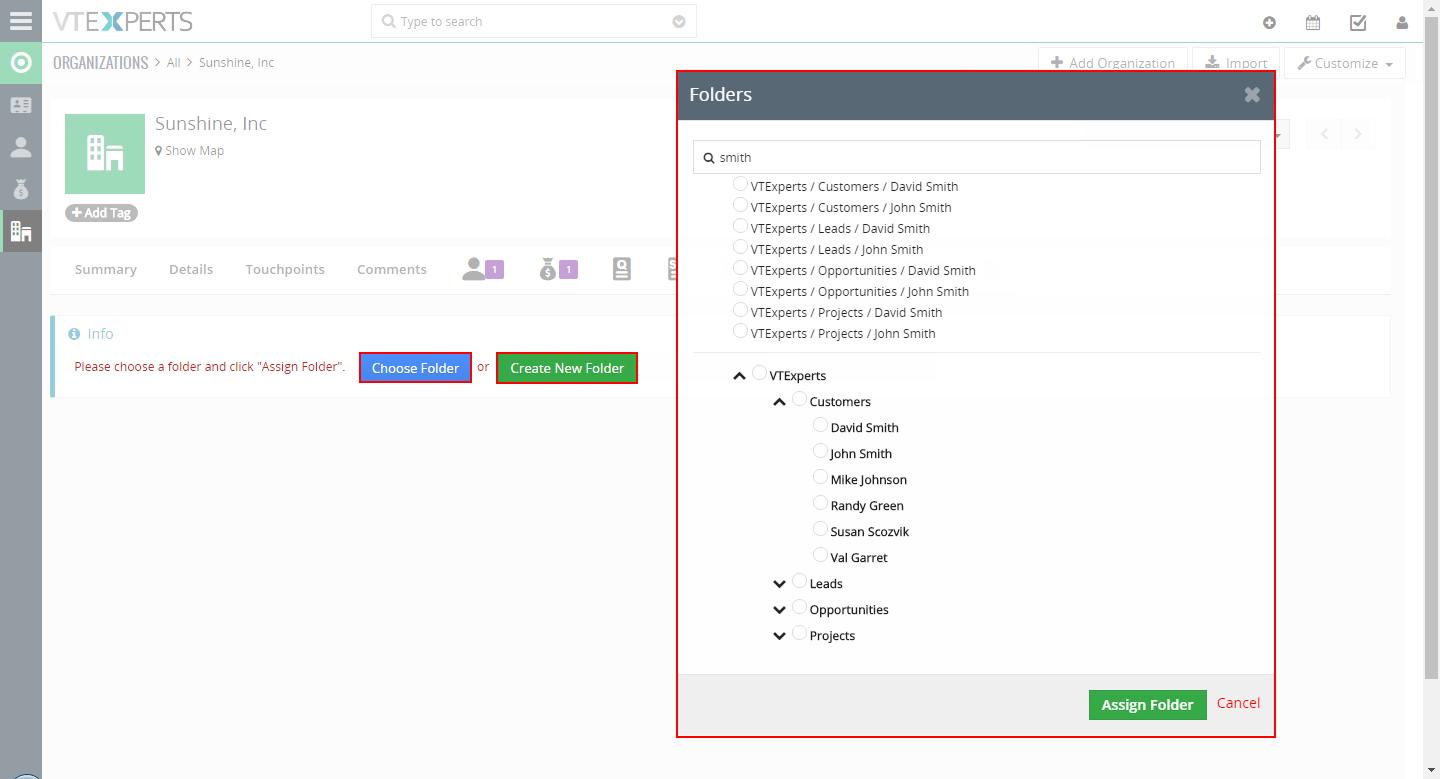
Once clicked, you will be asked to create a new folder or choose from existing ones from the list, and link it to the record.
After assigning a folder, you will see the list of available files as well as option to open the folder in Google Drive. You can perform multiple actions on files right from within the VTiger.