

29
Set Default Field Value In VTiger 7
November 29, 2017

Article
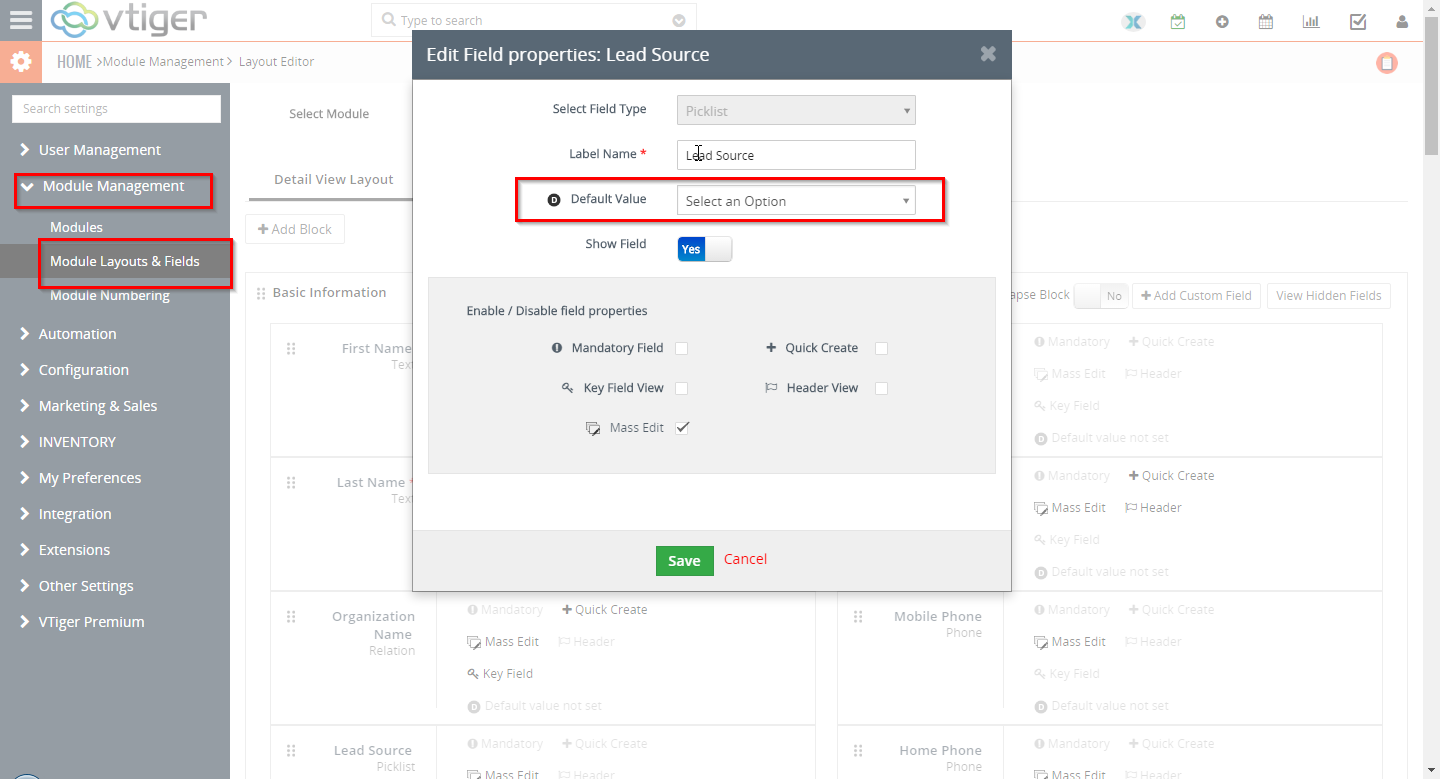
While filling in information records’ fields, there can be some values that you, your users, and your company require the most. That can be a type of a ticket that you create more often than the others, or a sales stage of an opportunity. In VTiger 7, you can configure the default field values. This feature automatically fills the configured fields with the Default Field Values while users can always change the value while entering the data. How to Set Default Field Value Go to the “Menu” and click on the “Settings” button and select “CRM Settings“. Under the “Module Management” drop down menu select “Module Layout and Fields“. From here click on the “Add Custom Field” or “Edit Icon” to set the default field value or change the existing one. Here you can set the Default Field Value in the given space next to the “Default Value“.
Customize VTiger Login Page In VTiger 7
November 29, 2017
Article
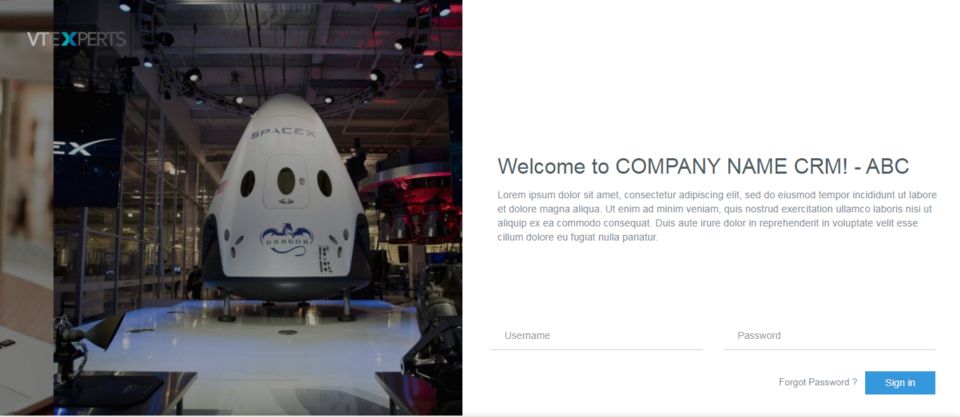
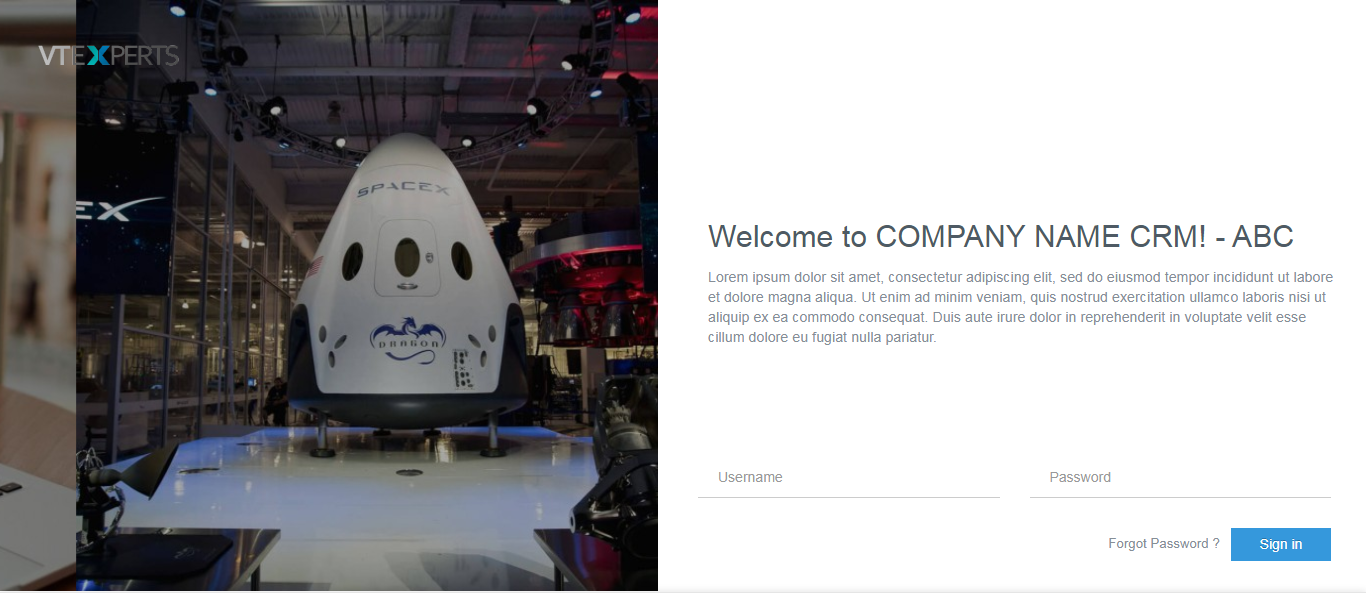
In VTiger 7, User can create a Custom User Login Page by using our extension. User can completely customize the login page, Meaning that the system administrator can update the logo, sliding images, customize the text, footer & more! The ads and all VTiger references are also removed. How to Customize VTiger Login Page Go to the “Menu” and click on the “Settings” button and select “CRM Settings“. Under the “Other Settings” drop down menu select “VTE Custom User Login Page“. From here click on the add button to create a custom login page. Add the Login page details in the given space and also upload the logo. You can add more than one image on the login page and also display your Social media site’s link’s. Click on the save button on the top right corner of the page. Here it is what its look like once you’re